7/3/19
(Above: The first piece of galvalume paneling cut for Wall #6 of Jacobhouse [the right side].)
Building Summary: Today’s activities began with my filling 6 manure bags in the name of Jacobhouse funds. This was ensued by driving the big white pickup (with wall paneling in the back) out to the container home and my beginning to measure / plan what I was to do with it. A Sparr trip with Padre and Wag followed soon after, and there, we obtained a rivet gun*, some ½” rivets, a can of mocha brown paint (for the bathroom door), and some fly-control supplies for the cows.
Back at the farm, I truly began the process of measuring and cutting the roof paneling. There was some difficulty in regard to the planning of what exactly I needed to do, but once I started with the actual cutting**, it progressed quite quickly. Padre helped me make the final cut ‘across the grain’ just before we headed home for the morning.

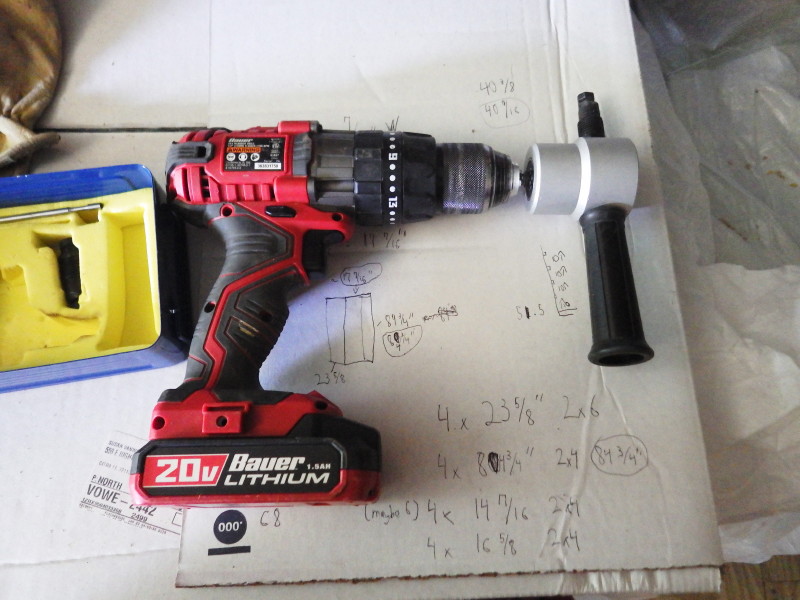
An attachment that fits onto almost any power drill. It shears through thin sheet metal without causing burrs or ragged/jagged edges. (Do be aware, though; the nibbler eats about 1/8″ of metal whilst cutting.)
Commentary: This morning’s highlight was quite obvious. I have always enjoyed figuring out and operating new tools, and today’s first use of the nibbler was no different in that regard. It works through an action quite similar to that of hole punch, but where the hole punch does not have any sort of stop, this one has a stop right at the center***; thus, it performs a cutting action rather than simply poking holes into the galvalume. Another thing I discovered is that the nibbler goes much faster when the drill motor is on setting #2 (high speed). This latter bit makes sense, of course, but in addition to going over double the pace of the setting #1, it creates a much cleaner cut.
Then, to add to the morning’s highlights, was the presence of another new tool: a rivet gun. I’ve never used a rivet gun before (and therefore will be looking up videos later on). I have a feeling, though, that the pop-rivets will be as satisfying if not moreso than the nibbler, especially what with the fact I will only be using the gun after the sheet metal panels are trimmed to the appropriate size.

Final Note: Tomorrow I have my work cut out for me… or rather that is the work for tomorrow: measuring and cutting more roof metal. Also, if all goes well with the rivet experiment, I will begin fastening up the wall paneling.
*Padre showed me where his father had riveted the milking parlor’s ceiling panels to a type of concrete-board substrate This inspired us to go fetch a rivet gun at Sparr so we could at least experiment fastening a piece of flashing to a leftover piece of ½” plywood. (If it works, I’ll use the same method for attaching the galvalume paneling to Jacobhouse’s plywood walls).

**What with the morning’s rapidly increasing heat, the glaring brilliance of galvalume metal, the absence of shade, and my lack of experience when it comes to working roof metal, it felt like it took far too long to reach the ‘actual cutting’ step.
***It is basically a metal bar with a section that is of narrower diameter meeting with a section that is of higher diameter. I know this description is lacking, so I’ve included a picture to the right.
